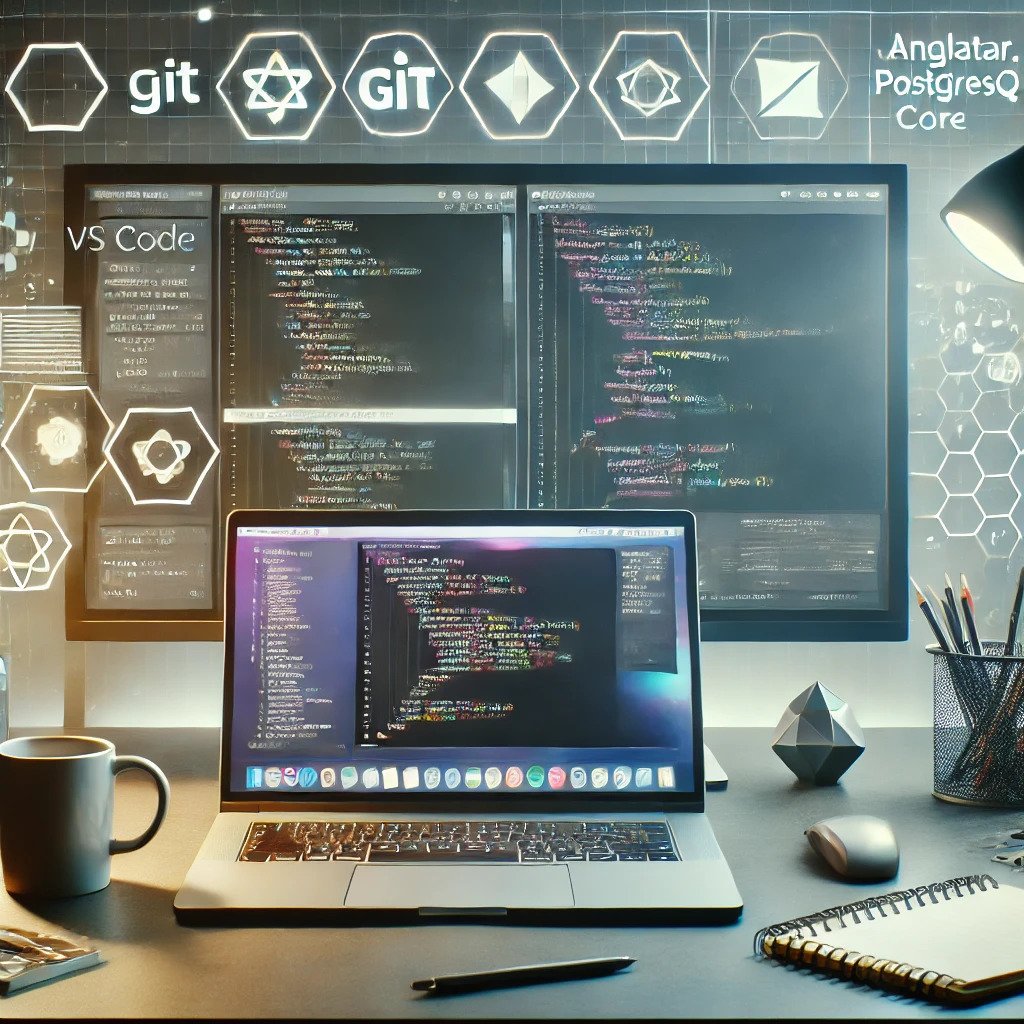
🚀 How to Set Up a Full-Stack Dev Environment in 10 Minutes
So, you want to build web applications but don’t know where to start? Whether you’re a beginner or an experienced developer looking for a quick setup guide, this post will take you from zero to a fully functional full-stack development environment in just 10 minutes!
By the end of this guide, you’ll have:
✅ VS Code for coding
✅ Git for version control
✅ Node.js & npm for JavaScript/TypeScript projects
✅ Angular for frontend development
✅ .NET Core for backend development
✅ PostgreSQL for database management
⏳ Estimated Time: 10 minutes
🎯 Target Audience: Full-stack developers, beginners, and professionals
Let’s get started! 🏃♂️💨
🛠 Step 1: Install VS Code (2 minutes)
📌 Why? VS Code is a lightweight yet powerful code editor with rich extensions for full-stack development.
🔹 Installation Steps
- Download VS Code.
- Install it on your system.
- Open VS Code and install the following must-have extensions:
- 🟢 C# (for .NET Core development)
- 🔵 ESLint (for JavaScript/TypeScript linting)
- 🎨 Prettier (for automatic code formatting)
- 🗄 PostgreSQL (for connecting to your database inside VS Code)
✅ Quick Check
- Open VS Code and press
Ctrl + Shift + Xto open the Extensions panel. - Search and install the extensions above.
🌍 Step 2: Install Git (1 minute)
📌 Why? Git allows you to track changes, collaborate, and deploy your projects.
🔹 Installation Steps
- Download Git and install it.
- Open Command Prompt or Terminal and run:
git --version✅ If you see a version number, Git is installed successfully! 🎉 - Set up your global Git config (replace with your details):
git config --global user.name "Your Name" git config --global user.email "your.email@example.com"
🟢 Step 3: Install Node.js & npm (1 minute)
📌 Why? Node.js lets you run JavaScript outside the browser, and npm (Node Package Manager) manages your project dependencies.
🔹 Installation Steps
- Download Node.js (LTS version) and install it.
- Verify installation:
node -v npm -v✅ If you see version numbers, Node.js and npm are installed! 🎉 - Install Angular CLI globally:
npm install -g @angular/cli✅ This allows you to create and manage Angular projects easily.
🔵 Step 4: Install .NET Core SDK (2 minutes)
📌 Why? .NET Core is used for building high-performance backend applications.
🔹 Installation Steps
- Download .NET Core SDK.
- Install it and verify:
dotnet --version✅ If you see a version number, .NET Core is installed! 🎉 - Create a test project:
dotnet new console -o MyApp cd MyApp dotnet run✅ If you see “Hello, World!” in your terminal, .NET Core is working perfectly!
🗄 Step 5: Install PostgreSQL (2 minutes)
📌 Why? PostgreSQL is an advanced open-source database that integrates well with .NET and Angular.
🔹 Installation Steps
- Download PostgreSQL and install it.
- During installation, set a strong password for the “postgres” user.
- Open pgAdmin (PostgreSQL’s GUI) or connect via Terminal:
psql -U postgres - Create a new database:
CREATE DATABASE fullstack_dev;✅ Your database is ready! 🎉
🚀 Step 6: Create a Full-Stack Project (2 minutes)
Now, let’s build a simple full-stack project using:
- Angular (Frontend)
- .NET Core (Backend API)
- PostgreSQL (Database)
Backend: Create a .NET Core Web API
- Open a terminal and run:
dotnet new webapi -o Backend cd Backend dotnet run - Open
http://localhost:5000/swaggerto see the default API running.
Frontend: Create an Angular Project
- Open another terminal and run:
ng new frontend cd frontend ng serve - Open
http://localhost:4200/to see your Angular app running!
Connect .NET Core to PostgreSQL
- Install Entity Framework Core for PostgreSQL:
dotnet add package Npgsql.EntityFrameworkCore.PostgreSQL - Configure
appsettings.json:"ConnectionStrings": { "DefaultConnection": "Host=localhost;Database=fullstack_dev;Username=postgres;Password=YourPassword" } - Apply migrations and update the database:
dotnet ef migrations add InitialCreate dotnet ef database update
✅ Now your .NET Core API is connected to PostgreSQL! 🎉
🎯 Final Check: Your Full-Stack Dev Environment is Ready!
✅ VS Code installed
✅ Git configured
✅ Node.js & npm working
✅ Angular CLI installed
✅ .NET Core running
✅ PostgreSQL database created
Now you can start building full-stack applications! 🚀
💡 Next Steps
Now that your development environment is ready, here’s what you can do next:
🔹 Build an Angular UI with Material UI.
🔹 Secure your .NET API with JWT authentication.
🔹 Deploy your app using Docker, AWS, or Azure.
If you found this guide helpful, share it with your developer friends and leave a comment below! 🚀💬
Happy coding! 🎉🔥